The Beginning Steps: Preparing Your Django Blog's Work Atmosphere
Hello my friends, Welcome to the first post of "Building Your Blog from Scratch: A Django Journey" !
I am Marwan Fazora, a proficient full-stack web developer with a strong command of Python and Django. Possessing expertise in both front-end and back-end development, I specialize in crafting secure and high-performance web applications. I am eager to collaborate and contribute to transforming conceptual ideas into tangible solutions.
First, Let's talk a little bit about Django
Django, a powerful Python web framework, excels in rapid development, security, and scalability. It boasts a 'batteries-included' approach, offering built-in features like an ORM, secure authentication, and an admin interface. It's favored for creating APIs due to its clean design and efficiency, making it ideal for building robust web applications with seamless APIs for data integration and communication.
Enough of this theoretical talk about Django. Let's start the real work now. 🤝
First, let's start by setting up the working environment.
I have previously written an article detailing how to set up the working environment. You can read it here.
Let's quickly prepare the work environment now.
# Create work directory
mkdir fazora_tech
cd fazora_tech

# Create and activate virtual environment
virtualenv venv -p 3.9
source venv/bin/activate

# install django
pip3 install django

# start a new project
django-admin startproject fazora_tech

# create main app
cd fazora_tech
python3 manage.py startapp blog
As mentioned earlier, for detailed steps on creating a new project, you can refer to the previous article: A Beginner's Guide to Create Your First Django Project
Let's now link our project to GitHub:
First, let's create a .gitignore file to inform Git about the files it should ignore.
Create a
.gitignoreYou can use any online .gitignore generator like: https://www.toptal.com/developers/gitignore/
just type
djangoand click create.Copy the content and paste it into
.gitignorefile
Now go to your Github account and create a new repo.
lets create a local repo too:
git init .
Now lets link local and remote repositories and push or project to GitHub:
git add .
git commit -m "First Commit"
git remote add origin https://github.com/marawan6569/Fazora-tech-blog.git # Your repo link
git branch -M main
git push -u origin main
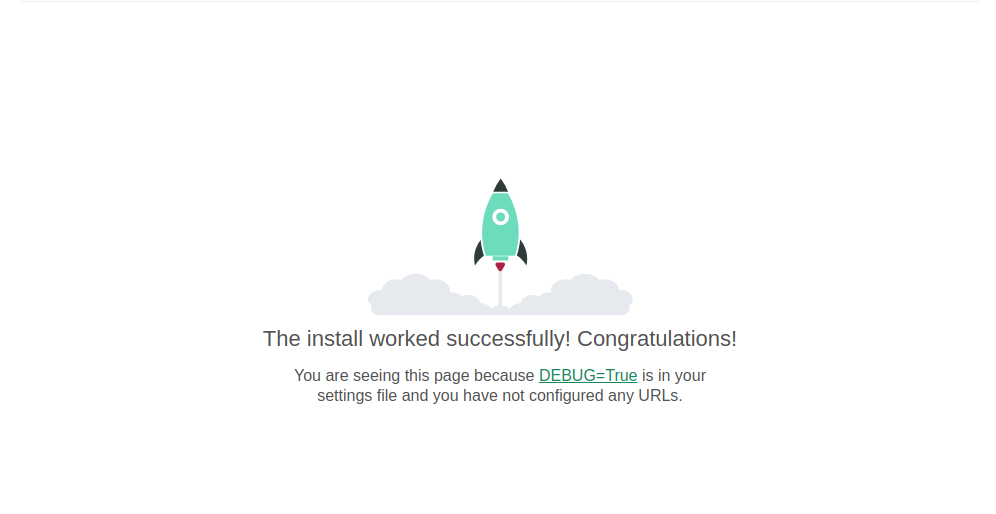
We're finally done. You can now run the project:
python3 manage.py runserver